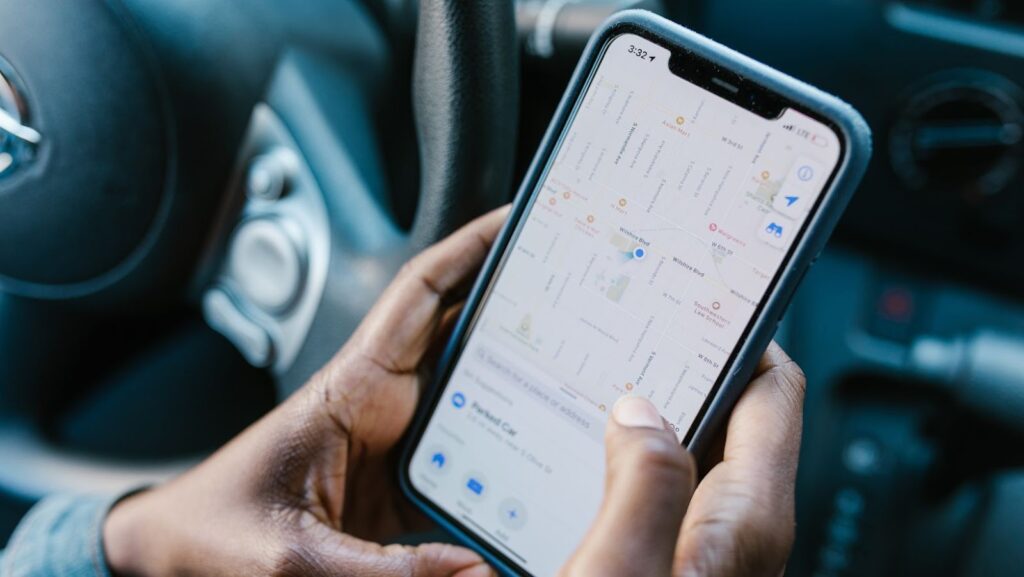
As we all know, social media is a great way to connect with others and build relationships. But what if you’re trying to grow your following and get more likes?
One great way to do this is by geotagging your photos. Geotagging simply means adding location information to your photos. This can be done with most photo editing software or even some online tools. When you geotag your photos, you’re essentially adding a location marker that can be seen by anyone who views the photo. This is a great way to get more exposure for your photos and ultimately grow your following. If you’re not sure how to geotag your photos, there are plenty of tutorials online that can walk you through the process. Once you start geotagging your photos, you’ll be surprised at how quickly your following starts to grow!
How to add location to photos on Iphone
- Open the Photos app and go to the album containing the photo you want to geotag.
- Select the photo, then tap Info .
- Tap Add a Location and enter the location.
- Tap Choose Location, then zoom in or out on the map until you find the correct spot. You can also type in a new location.
- Tap Done.
What are geotagged pics and why should you use them for your business or personal brand page on social media platforms like Instagram and Facebook?
Geotagged pictures are those that have been assigned a specific geographic location, usually by GPS. This can be done automatically on many smartphones and some digital cameras. When people see these pictures in their feed, they can click on the location and see all other photos that have been taken at that same spot.
This is great for businesses and personal brands because it allows people to easily see where you are, and also see what other people think of the location. If you’re a business, this can be a great way to get more foot traffic. And if you’re a personal brand, it’s a great way to show off your globetrotting lifestyle!
How to add location tags to your pics on both Android and iOS devices
- Open the photo you want to geotag.
- Tap the Info icon (iPhone) or the pencil icon (Android).
- Tap Location.
- Enter a location, then tap Choose this location (iPhone) or Select (Android).
- You can also move the map pin to adjust the precise location.
- Tap Done (iPhone) or Save (Android).
Tips for getting the most out of your geotagged pics, including using hashtags, tagging friends, and adding captions
1. Use hashtags
When you geotag your photos, be sure to use relevant hashtags. This will help people who are searching for photos in that location to find yours. For example, if you’re geotagging a photo from your vacation in Hawaii, you might use hashtags like #hawaii, #beach, or #vacation.
2. Tag friends
If you have friends in the photo, be sure to tag them! This is a great way to get more exposure for your photos and grow your following.
3. Add captions
When you add a caption to your photo, be sure to mention the location. This is another great way to help people find your photos and learn more about the location.
4. Use geotagged pics to promote your business
If you’re a business owner, geotagged pics are a great way to promote your business. You can use them to show off your products or services, and you can even use them to drive traffic to your website or brick-and-mortar store.
5. Use geotagged pics to show off your globetrotting lifestyle
If you’re a personal brand, geotagged pics are a great way to show off your globetrotting lifestyle. This is a great way to connect with others who share your interest in travel, and it’s a great way to show potential clients or employers that you’re a well-rounded individual.


