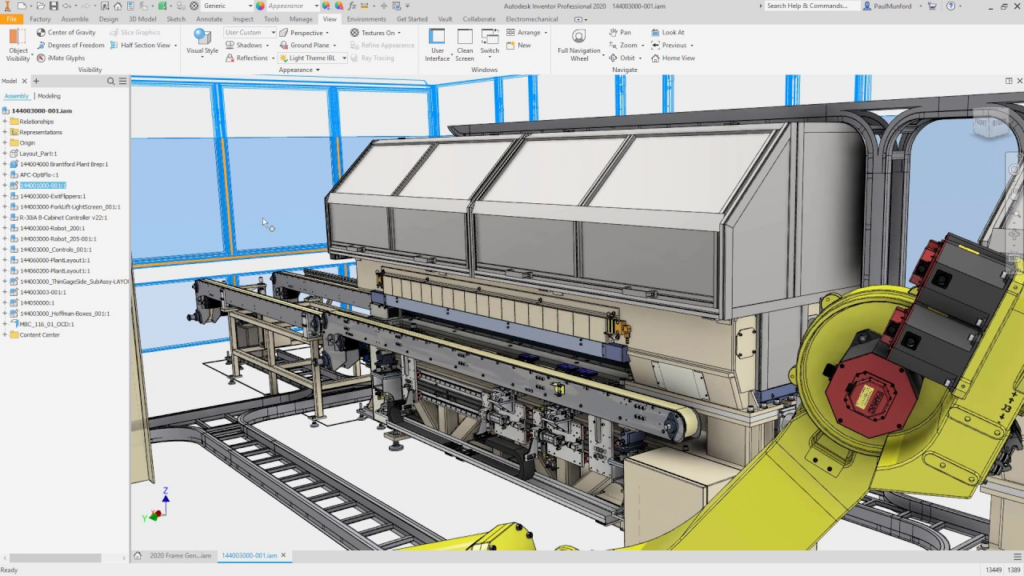
Autodesk Inventor is computer-aided design software used to create 3D digital prototypes. Autodesk Inventor is part of the Autodesk product suite and has been on the market since 1996.It enables users to create 3D digital prototypes which can be shared for feedback with clients or team members before converting them into actual physical parts.This helps to streamline the design process for engineers and designers, as well as identify design issues early on.
It offers a variety of features, including 3D modeling, simulation, and product data management
Autodesk Inventor offers a variety of features, including 3D modeling, simulation, and product data management. With 3D modeling, users can create a 3D representation of their product design.
Simulation allows them to test the product for how it will behave under certain conditions, such as stress or motion. Product data management helps to keep track of all the different design files and components for the product.
It’s often used in the manufacturing and engineering industries
Autodesk Inventor is often used in the manufacturing and engineering industries. Its ability to create digital prototypes helps to streamline the design process for these industries.It can help to identify design issues early on, which can save time and money in the long run.
Autodesk Inventor can be used to create both simple and complex products
Autodesk Inventor can be used to create both simple and complex products. For simple products, it allows users to quickly create a 3D model of the product.
This can be helpful for getting feedback on the design from clients or team members. For more complex products, Autodesk Inventor offers a variety of features that can help with the design process.
How To Use Autodesk Inventor
Now that you know a little bit about Autodesk Inventor, let’s take a look at how to use it.
First, open Autodesk Inventor and create a new project. Then, select the type of product you want to create. Autodesk Inventor offers a variety of templates for different types of products, so you can select the one that best suits your needs.
Next, add the components for your product. To do this, click on the “Insert” tab and select the component you want to add. You can also search for specific components by name or keyword.
Once you have added all the components, you can begin to assemble them. To do this, you can use a variety of assembly tools available in Autodesk Inventor, including Assembly constraints and Assembly mates.
Once the components are assembled, you can create surface or solid bodies for each component by using Extrude, Revolve, Sweep, Loft, Planar Cut, Balloons Toolbox features. You can also trim surfaces, add draft to components, etc. You can also create sheet metal parts by using the Balloon Toolbox features.
How to change units in inventor
In Autodesk Inventor, you can change the units of measure for length, width, and height by going to File > Preferences > Units.
In the Length category, you can choose between decimal inches, millimeters, or imperial inches. In the Width and Height categories, you can choose between decimal feet, meters, or imperial feet.
How to remove material in inventor
The Remove Material tool functions similar to the Delete Face tool in that you can use it to remove entire features from a model.
However, the difference is that this tool will preserve your history and save your file size. You can access this tool by going to Edit > Remove or by pressing [ Delete ] on your keyboard while in Edit mode.
Conclusion
As you can see, Autodesk Inventor is a useful tool for creating 3D models of your designs.
By using it, you can create both simple and complex products that accurately reflect the design you want to create.


